Appearance
Installation
Prerequisites
- PHP 8.4+
- Node.js 20+
- Composer 2.x
- Redis 6+ (for queues and real-time events)
- Docker (recommended) or PostgreSQL 16+ with pgvector
Database Setup
Docker (Recommended)
bash
docker compose up -dThis creates PostgreSQL 16 with the pgvector extension and Redis. The setup includes both an iris database and a testing database for running tests.
Default credentials: user iris, password iris, port 5432.
Manual PostgreSQL
If you're running PostgreSQL directly, create the database and enable the vector extension:
sql
CREATE DATABASE iris;
\c iris
CREATE EXTENSION vector;
IMPORTANT
The pgvector extension is required for semantic memory search. Without it, memory retrieval won't work.
Application Installation
bash
git clone https://github.com/sixlive/iris.git
cd iris
composer install
npm install
cp .env.example .env
php artisan key:generate
Environment Configuration
Edit .env with your API keys:
bash
ANTHROPIC_API_KEY=your-anthropic-key
OPENAI_API_KEY=your-openai-key

# Optional - Google Calendar
GOOGLE_CLIENT_ID=your-client-id
GOOGLE_CLIENT_SECRET=your-client-secret
The .env.example file includes Reverb configuration for real-time communication:
bash
# Real-time Communication (Reverb)
REVERB_APP_ID=iris-local
REVERB_APP_KEY=iris-local-key
REVERB_APP_SECRET=iris-local-secret
REVERB_HOST=localhost
REVERB_PORT=8080
REVERB_SCHEME=http

# Frontend Reverb connection
VITE_REVERB_APP_KEY="${REVERB_APP_KEY}"
VITE_REVERB_HOST="${REVERB_HOST}"
VITE_REVERB_PORT="${REVERB_PORT}"
VITE_REVERB_SCHEME="${REVERB_SCHEME}"
These defaults work for local development. For production, update the host, port, and scheme to match your deployment.
Run Migrations
bash
php artisan migrateBuild Frontend
bash
npm run buildGenerate Invite Codes
Iris uses invite-only registration to control access. Generate invite codes before users can register:
bash
# Generate a single invite code
php artisan iris:generate-invite-codes

# Generate multiple codes
php artisan iris:generate-invite-codes 5
Each code is a unique ULID that can only be used once. The codes are stored in the invite_codes table and marked as used when someone registers.
Running Iris
The easiest way to run Iris is with the dev command:
bash
composer devThis starts the web server, Horizon (queue management), Reverb (WebSocket server), log viewer, and Vite dev server together.
Visit http://localhost:8000. Horizon's dashboard is available at http://localhost:8000/horizon.
Manual Startup
If you prefer to run services separately:
Terminal 1: php artisan serve
Terminal 2: php artisan horizon
Terminal 3: php artisan reverb:start
Terminal 4: php artisan iris:agent (required for task delegation)
Terminal 5: php artisan schedule:work (optional, for scheduled consolidation)
IMPORTANT
Both Horizon and Reverb are essential. Horizon processes background jobs (memory extraction, summarization). Reverb enables real-time streaming of chat responses. Without them, chat won't work properly.
User Registration
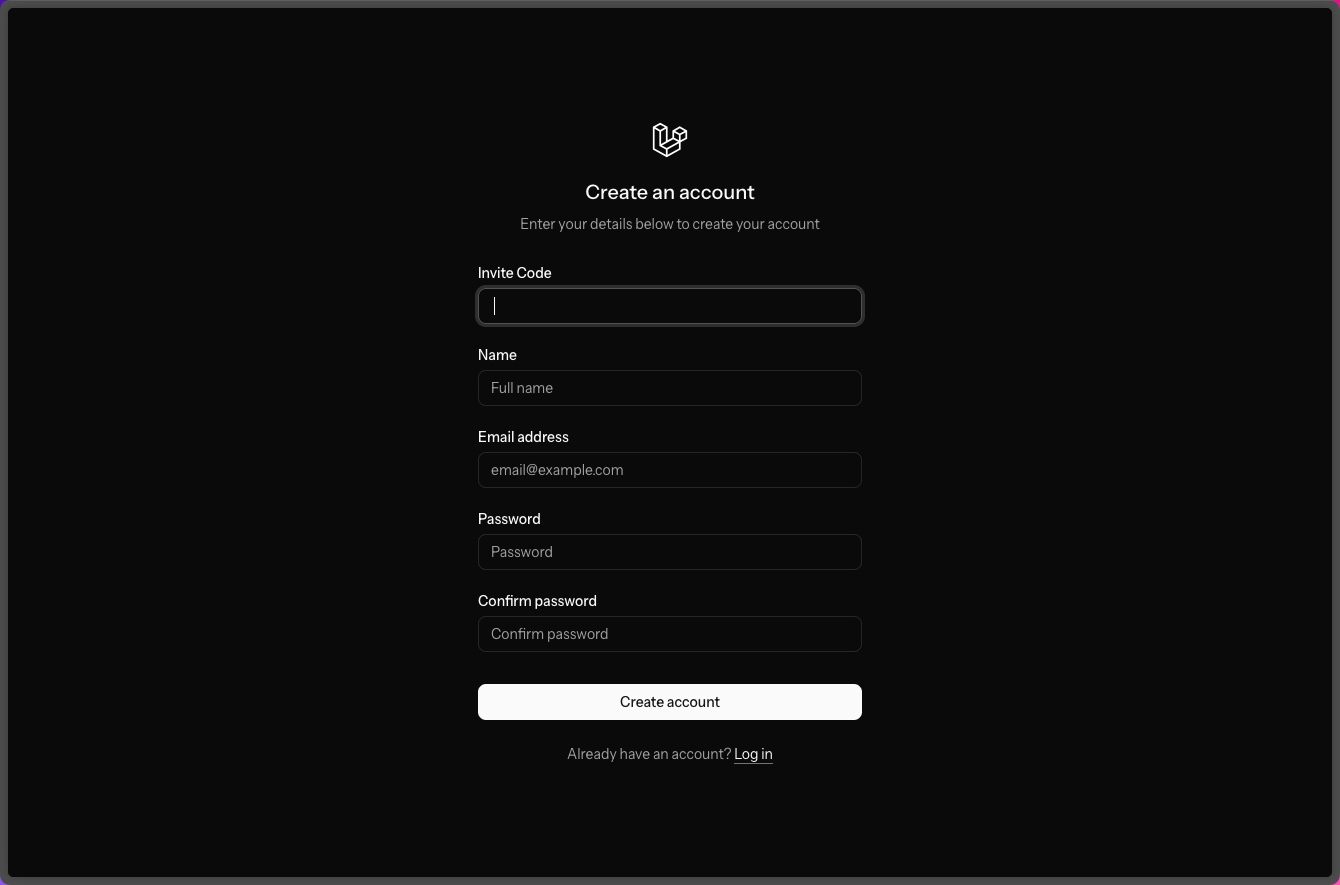
Head to /register and create a new user using the invite code that you generated earlier.
Optional: Google Calendar Setup
Google Calendar integration lets Iris see your schedule and manage events. Setup requires creating OAuth credentials in Google Cloud.
1. Create Google Cloud Project
- Go to the Google Cloud Console
- Create a new project or select an existing one
- Enable the Google Calendar API:
- Go to APIs & Services > Library
- Search for "Google Calendar API"
- Click Enable
2. Configure OAuth Consent Screen
- Go to APIs & Services > OAuth consent screen
- Select External (unless you have a Google Workspace organization)
- Fill in the required fields:
- App name: "Iris" (or your preferred name)
- User support email: Your email
- Developer contact: Your email
- Add the scope:
https://www.googleapis.com/auth/calendar - Add yourself as a test user (required while app is in testing mode)
3. Create OAuth Credentials
- Go to APIs & Services > Credentials
- Click Create Credentials > OAuth 2.0 Client ID
- Select Web application
- Add authorized redirect URI:
http://localhost:8000/settings/google/callback - Copy the Client ID and Client Secret
4. Add to Environment
bash
GOOGLE_CLIENT_ID=your-client-id.apps.googleusercontent.com
GOOGLE_CLIENT_SECRET=your-client-secret
5. Connect Your Account
- Start Iris and log in
- Go to Settings
- Find the Google Calendar section and click Connect
- Authorize access and select which calendars Iris should see
Troubleshooting
Database connection refused: If using Docker, ensure the container is running with docker compose ps.
pgvector extension not found: With Docker, this is automatic. For manual installations, see the pgvector installation guide.
Queue jobs not processing: Ensure php artisan horizon is running. Check for failed jobs in the Horizon dashboard at /horizon or with php artisan queue:failed.